I love to read, and these days, I primarily read just eBooks. It took me a little time to get comfortable with reading from a tablet vs. paper. However, the convenience just can’t be beaten not to mention the decade of improvements to reading apps for tablets and phones. I can carry thousands of eBooks around with me on my iPhone and iPad and never need to worry about losing a book a new and expensive book in a hotel room while traveling (can you tell I’m still upset about that…). Similar to physical books, keeping your eBooks organized is important once you have more than a few dozens. I’ve been using an app called Calibre to manage and organize all my eBooks, but there is no easy way to get eBooks moved around from Calibre to my PC and my mobile devices. I would need to set up a dedicated server or leave my PC running to access my eBooks in Calibre. So although it’s great for organizing my books, it’s not possible to keep all my devices in sync with the app. Luckily, I found a much better solution – BookFusion!
What is BookFusion?
BookFusion is truly the solution I’ve been waiting for. It’s a free online service for managing and reading your eBooks on all your devices. You can upload all your eBooks to your BookFusion account, and they sync across all your devices. It has an app for both Android and iOS (iPhone/iPad) and Mac and Windows; the Web Interface will keep in sync with your mobile reading. If you’re like me and already have everything stored in Calibre, you can export the books to your BookFusion account, with the tags and metadata (which you can also edit in BookFusion), using BookFusion’s free Calibre plugin. Although the service is free for the first 100 books, it also has a premium subscription which allows for more features and an unlimited number of books. To give you a detailed look at the product, let’s dig deep into BookFusion’s features and how it works. Hopefully, I answer all your questions about the product. If not, please feel free to drop a note in the comment section.
Sign Up for a Free Account
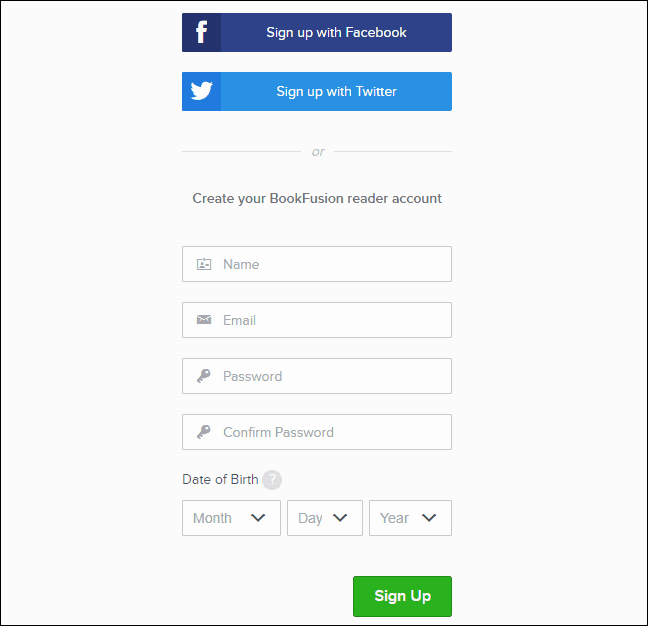
Get things started by signing up for a BookFusion account. Head to their sign up page to create a free trial account.
Get Started with Your eBook Library
After creating your account, you’re automatically logged in and presented with an empty bookshelf. Let’s add some books. To add a book to your library, click Upload on the left. You can also drag book files to the Upload box from a file manager like File Explorer or Finder.
If you clicked Upload, select the file(s) you want to upload to your library and click Open. To make things easy, I’m going to select multiple books to upload at the same time.
Uploaded books are processed fairly quickly. The more you upload, the longer things will process.
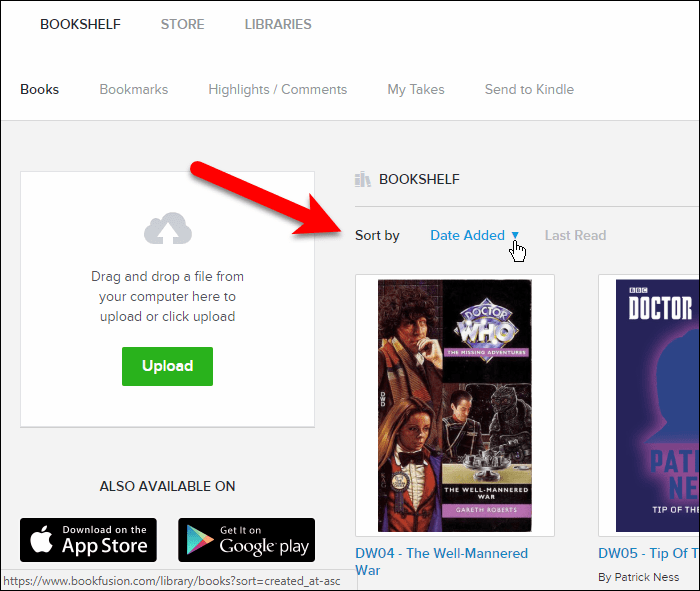
You can sort your books by Date Added or Last Read. The arrow to the right of each Sort by option changes the order between ascending and descending. This is handy if you have a lot of books in your library and just want to access the last book you added or the one you were last reading. BookFusion is currently working on a new feature which allows you to sort your books by series, title, author, subjects, and tags. And you’ll be able to group your books by series and author. For example, you’ll be able to view a list of all your series and select one to view only those books. And then sort them in series order. You won’t have to refer to another app or list or look up the next book in a series you’re reading. A lot the books I read are series, so this is a feature I’m looking forward to in the coming months.
To make your books more accessible to find via search, BookFusion allows you to edit the metadata for your books, like title and author. Just click the book you want to edit and then click Edit.
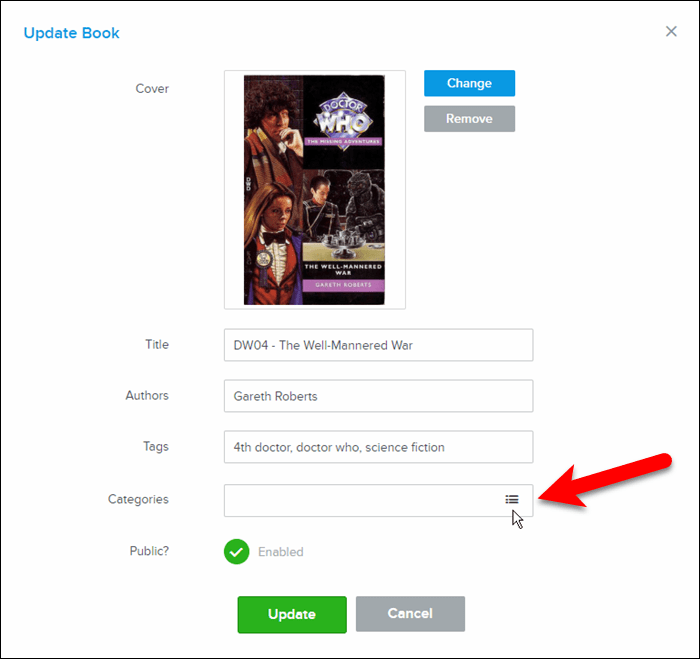
On the Update Book dialog box, you can change the Title and Authors, add Tags and Categories, and choose to make the book Public. Making a book Public will allow you to share it with other BookFusion users in a future release of the product. Setting up Categories is an easy way to organize your collection of books. From the Update Book screen, click anywhere on the Categories box.
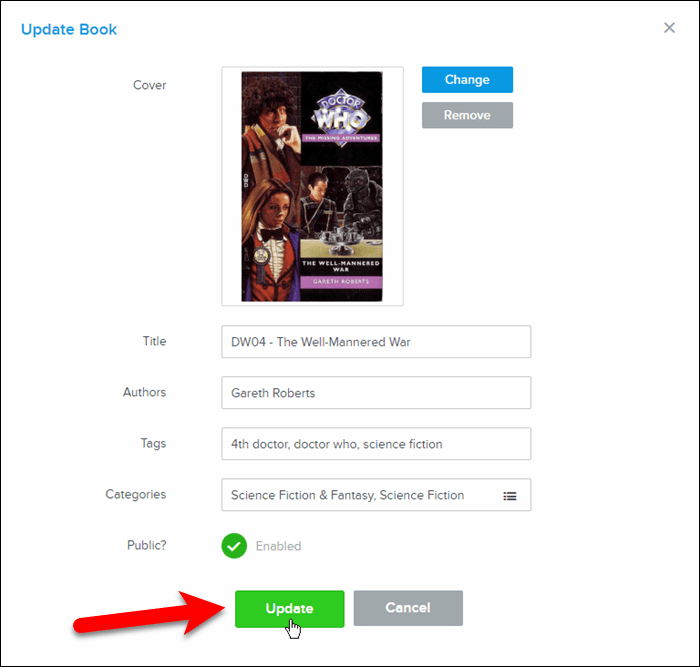
Scroll through the list and select the categories and subcategories you want to assign to the book. Then, click Done.
If you have a different image you want to use as the Cover for the book, you can Change that too. Click Update when you’re done making changes.
Import Your eBooks From Calibre into BookFusion
I have a ton of eBooks in Calibre, where I’ve been organizing and managing them. Now that I’m using BookFusion, how do I quickly get all those books into my BookFusion account? BookFusion provides a plugin for Calibre that allows you to quickly and easily import all or some of your eBooks from Calibre into your BookFusion account with all the metadata for the eBooks. To begin, download the plugin. Then, open Calibre and click Preferences on the toolbar.
On the Preferences dialog box, click Plugins under Advanced.
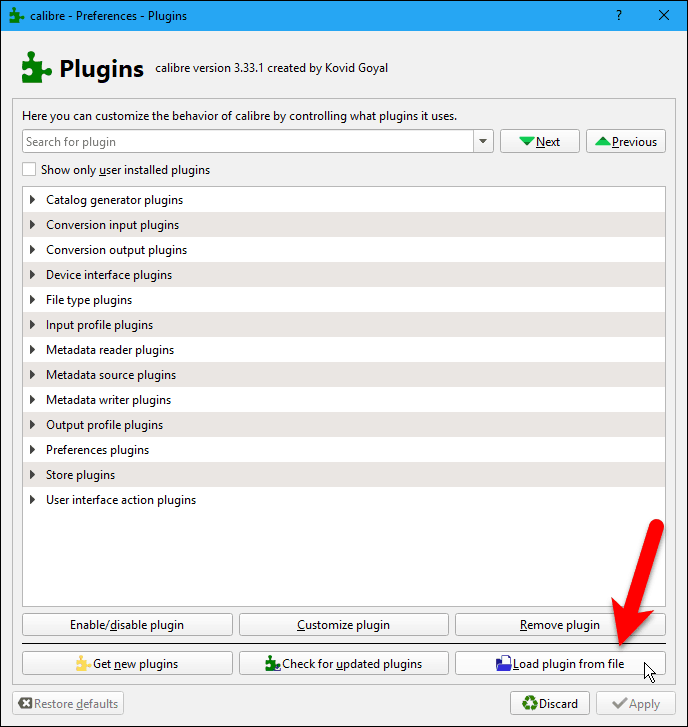
Click Load plugin from file at the bottom of the Plugins dialog box.
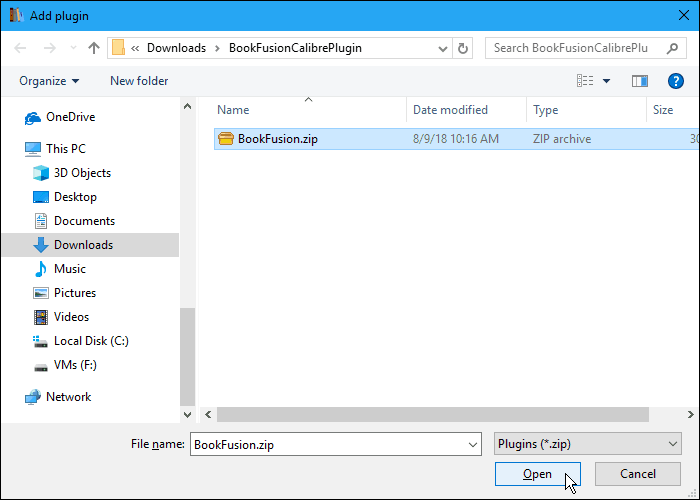
Navigate to where you saved the BookFusion.zip file, select the file, and click Open.
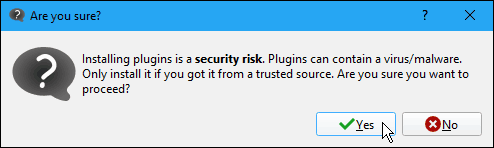
A dialog box displays warning you that installing plugins is risky. BookFusion’s Calibre plugin file is safe. But you should generally scan plugin files for viruses and malware before installing them. Click Yes to continue.
Then, click OK on the Success dialog box.
The BookFusion Calibre plugin is added to the User interface action plugins section on the Plugins dialog box. Click Apply.
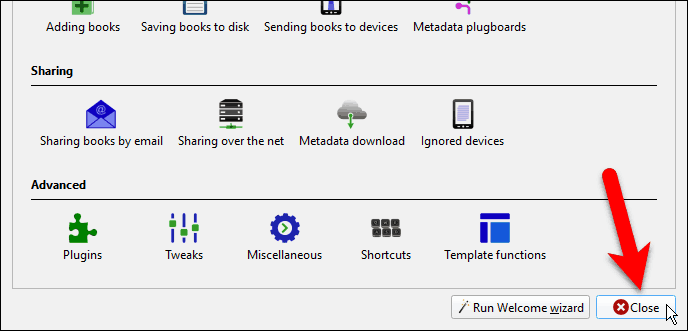
Then, click Close on the Preferences dialog box and restart Calibre.
Now you’ll see a BookFusion button on the toolbar in Calibre. To sync some, but not all, of your eBooks to your BookFusion account, select the ones you want to sync. Then, click the BookFusion button or click the arrow on the BookFusion button and select Sync selected books.
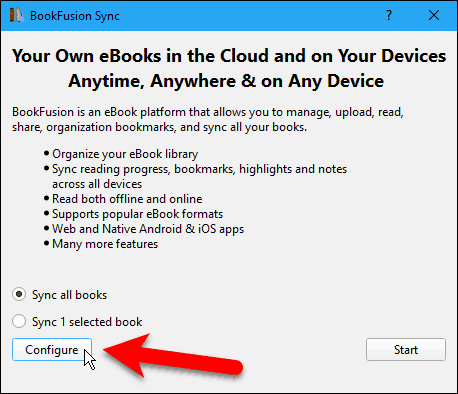
Before you can sync eBooks from Calibre to your BookFusion account, you’ll need to configure the plugin. That means you need to get something called an API Key from your BookFusion account to enter in the BookFusion plugin in Calibre. Don’t worry; it’s easy to get. Click Configure on the BookFusion Sync dialog box.
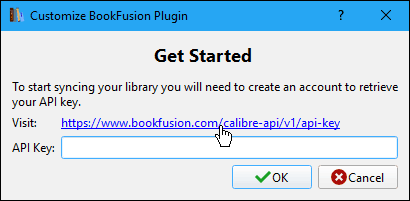
Click the Visit link on the Customize BookFusion Plugin dialog box.
The default browser opens, and you’re taken to your BookFusion account. You’re asked to log in if you’re not already. Once you’re logged in, the API Key page in your account settings displays. Select the string of characters in the Your API Key box and copy it.
Go back to the Customize BookFusion Plugin dialog box in Calibre, paste the copied key into the API Key box, and click OK.
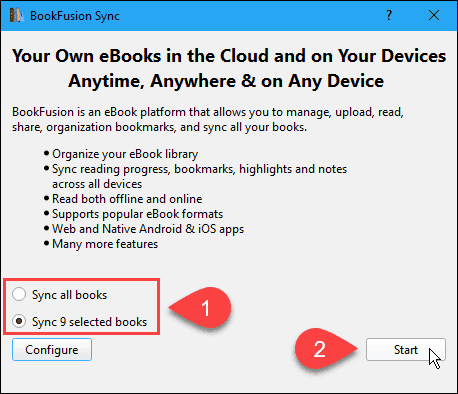
Now you’re ready to sync your eBooks in Calibre to your BookFusion account. Make sure the option you want is selected. You can Sync all books (even if some eBooks are currently selected) or Sync X selected books, where “X” is the number of eBooks you picked before clicking the BookFusion button. Then, click Start.
The sync progress displays on the BookFusion Sync dialog box.
When the sync process is done, click the X in the upper-right corner of the dialog box to close it. The synced eBooks are now in your BookFusion account.
Add a Column to Calibre That Shows Which Books Are Synced to Your BookFusion Account
What if you only synced some of your eBooks in Calibre to your BookFusion account? How do you remember which ones you synced? Calibre allows you to add custom columns and I’ll show you how to add a column that indicates which eBooks have been synced to your BookFusion account. Start by clicking Preferences on the Calibre toolbar. Then, click Add your own columns under Interface.
On the Add your own columns dialog box, click Add custom column.
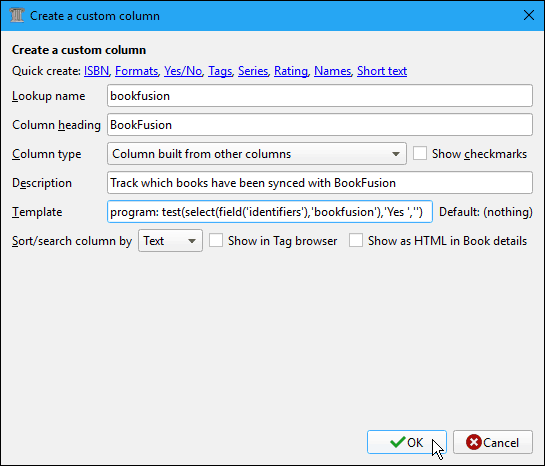
On the Create a custom column dialog box, enter or select the options as shown on the following image. The Lookup name is used to search the column and must be all lowercase letters or numbers. It can’t contain spaces. Enter whatever you want for the Column heading, like “BookFusion” or “BookFusion Sync.” Just don’t make it too long. Make sure Column built from other columns is selected as the Column type. For the Template, copy the following line and paste it into the box. Accept the default settings for the remaining fields and click OK.
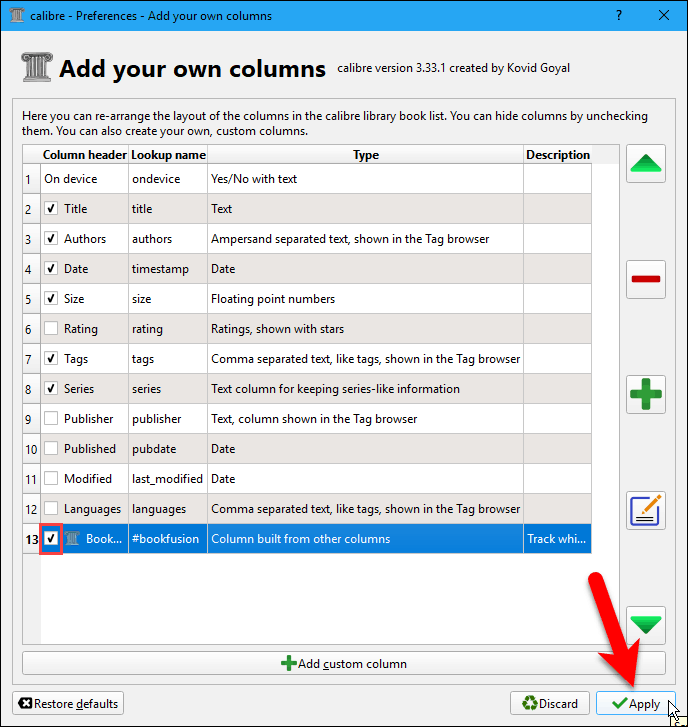
The new BookFusion column is added to the list on the Add your own columns dialog box. It should be checked by default, but make sure it is. Then, click Apply.
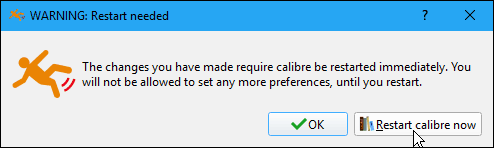
This change requires you to restart Calibre, so click Restart calibre now on the warning dialog box.
Once Calibre opens, you’ll see the BookFusion column with “Yes” indicating an eBook was synced to your BookFusion account. The column updates as you sync more eBooks. I love this plugin. I have so many eBooks in Calibre, and this plugin makes it so easy to transfer them to my BookFusion account. If you’re a Calibre user, you’ll love this plugin, too.
Read Your eBooks on Any Device
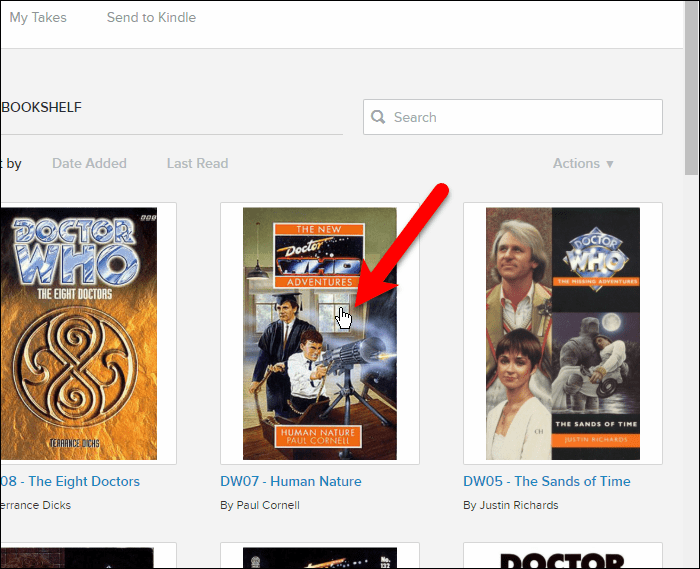
Now that you’ve added eBooks to your BookFusion account, whether manually or using the Calibre plugin, you can read them on an iPhone, iPad or Android device once you install the BookFusion app. Here’s a quick tour of the app from a PC or Mac. Just log into your BookFusion account in a browser and click the book on your bookshelf you want to read.
Then, click Read.
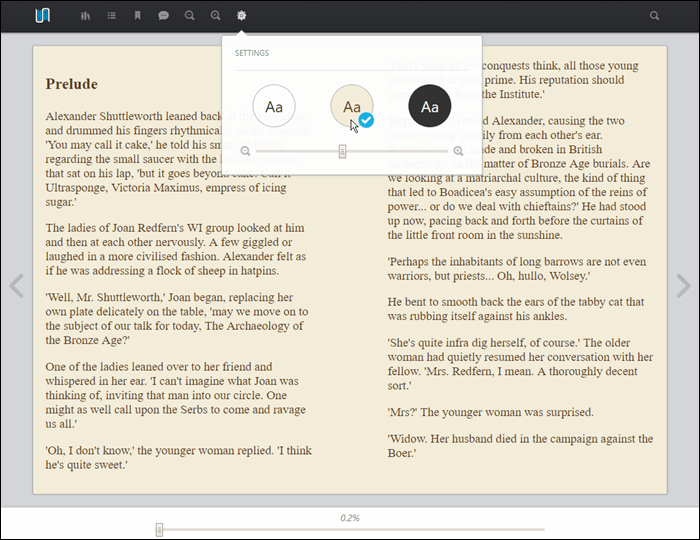
The eBook opens in the web reader. Use the left and right arrows to “turn” pages in the book. The toolbar at the top allows you to go back to your Bookshelf, open the Table of Contents for the book, add and access Bookmarks and Highlights in the book, Zoom Out and Zoom In, and change the background color and text size in the Settings. The bottom bar shows the percentage of the book read so far.
Once you’ve opened a book in your library, it’s added to the Continue Reading section on your bookshelf which is nice if you want to start reading again from a mobile device or computer.
Read eBooks on an iOS or Android Device
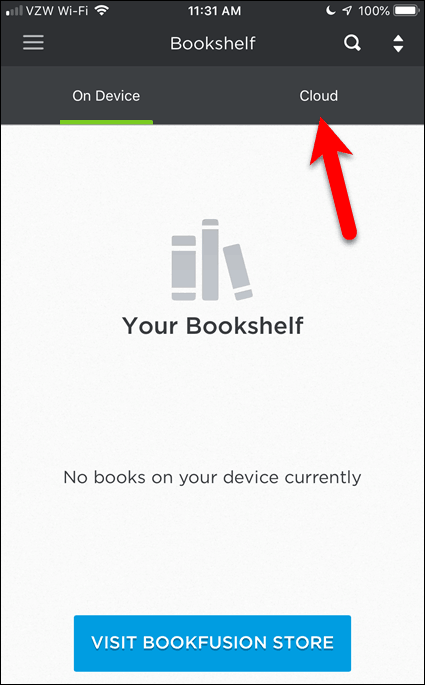
The iOS and Android apps are very similar. For my screenshots below, I’ll show the iOS app and point out any differences in the Android app. To add books to your device to read, tap the Cloud tab. You can also visit the BookFusion store to add books to your library and your device, where there are many free books available and books for purchase.
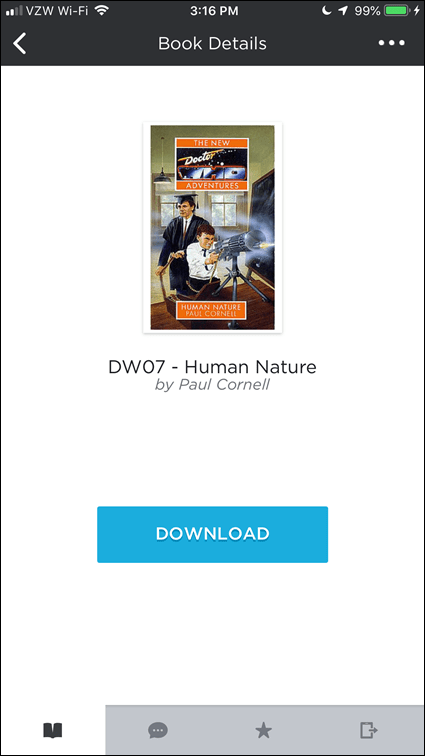
The Continue Reading section shows books you’ve started reading on any device Any books you haven’t started reading are listed in the My Books section. Tap on the book you want to read on your device in either section.
Then, tap Download.
In the iOS app, the eBook downloads to your device and automatically opens. In the Android app, you must click Read to open the book after it downloads. To add a bookmark, tap the bookmark icon on the upper-right corner of the current page. To change the look of the reader, click the gear icon on the toolbar.
In the Reading Preferences, you can change the brightness, the style of the text (plain, italic, bold, or bold italic), and the color of the background. Tap the gear icon again to close the Reading Preferences. The open book icon allows you to access the bookmarks for the current book. You can go to bookmarks or delete them in the mobile apps. We’ll show you how to edit bookmark titles and add tags to bookmarks using the web interface in the next section.
Sync Your Reading Progress and Bookmarks Across Devices
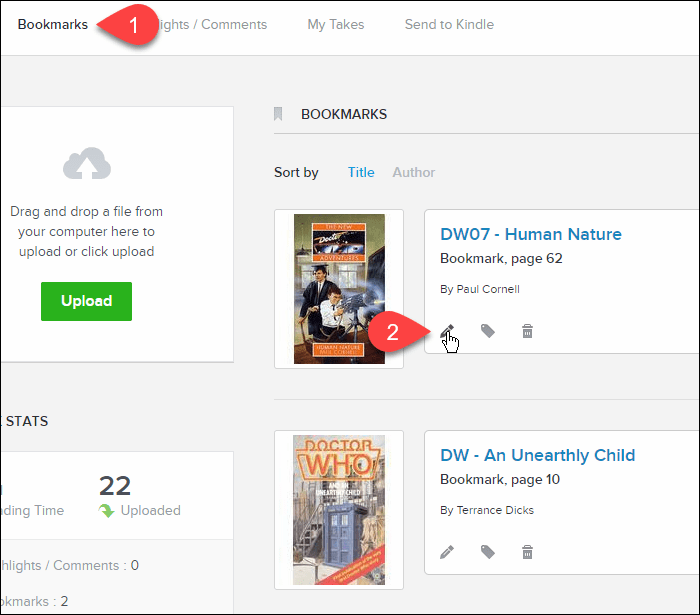
As we mentioned earlier, your reading progress is synced across all your devices. Your bookmarks are also synchronized. Reading progress and bookmarks are separate things. Reading progress is just that, it keeps track of where you left off so you can continue at another time across devices. Bookmarks allow you to add notes on other pages. Maybe there’s a passage you want to remember. You can bookmark that page, and that bookmark is saved separately from your reading progress. In the web interface, you can access all the bookmarks for all the books you’re reading on any of your devices and edit them, add tags to them (click the tag icon), or delete them (click the trash can icon). By default, all bookmarks are named Bookmark and include the name of the book, author, and the page number. But you might want to change the name of a marker to remind yourself why you bookmarked that page. To change the name of a bookmark, click Bookmarks and then click the pencil icon for the bookmark you want to change.
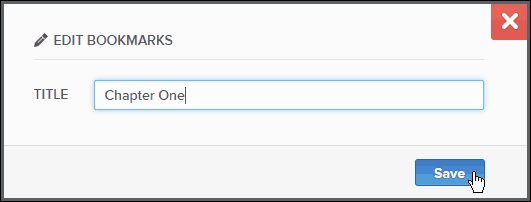
Enter a new name for the bookmark and click Save.
Highlight and Comment on Passages in Books
Say you’re reading a book and you want to remember a specific passage in the book. You can highlight the passage and add a comment to it also. BookFusion stores all the highlighted passages and any comments you added to them and you can access them on any device. You can highlight passages in any of your own books or any books you borrow from a library. Highlights and comments made in borrowed books are not deleted when you return a book to a library or delete one of your own books. This way you have access to your highlights and comments for reference even if the book is not in your library anymore. I’m showing BookFusion for iOS here, but BookFusion for Android works the same way. To highlight a passage in a book, touch the screen for a couple of seconds at the beginning of the content you want to highlight. Drag the borders of the selection to cover the content you want to highlight. On the toolbar that pops up, tap Highlight.
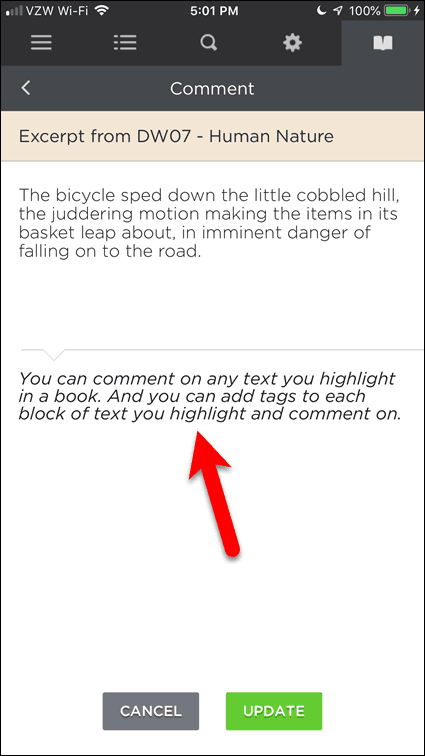
The highlighted passage is saved to your BookFusion account. To add a comment to the highlighted passage, tap the highlighted content and then tap Comment.
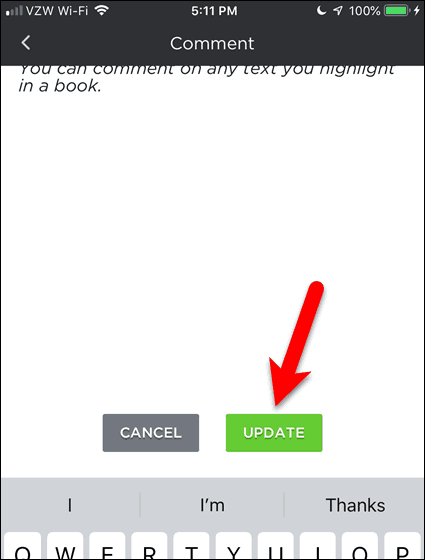
Tap in the space below the line to put the cursor there and activate the keyboard. Then, type your comment.
To save your comment, scroll down and tap Update. You’re returned to your book.
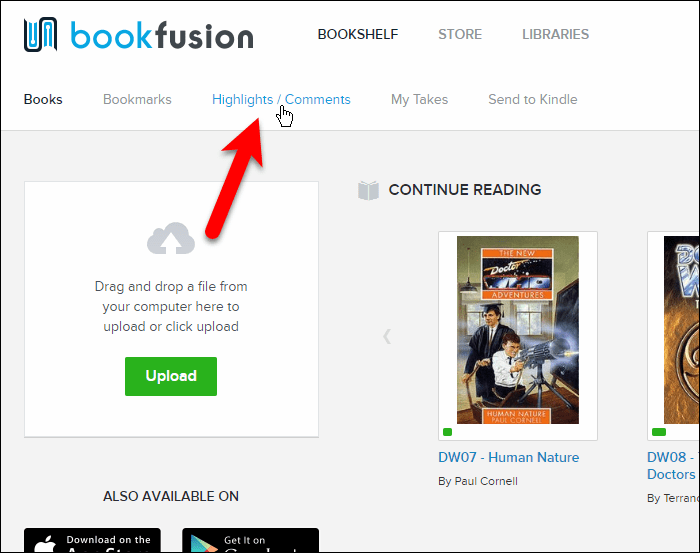
Because your highlights and comments are stored in your BookFusion account, you can access them in the web interface. Say you’re on your PC and you want to add to a comment you made in a book on your iPhone. Log in to your BookFusion account in a browser and click Highlights / Comments.
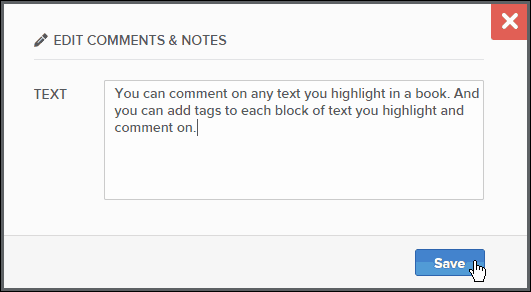
The highlights from all your books are listed with any comments you made. To edit a comment on a highlight, click the pencil icon on the box for that highlight.
Change or add to the comment and click Save.
The change you made is synced to your other devices. On your iPhone (or Android device), open the book and tap the open book icon on the toolbar.
Tap Comments.
Then, tap the highlighted passage you want to view the comments on.
You’ll see the changes you made to the comment. If you happen to be on the page containing the highlighted passage, you can tap on the highlighted content and then tap Comment. You’ll be taken directly to this screen.
Love Your eBooks Even More with BookFusion
I love reading eBooks but managing my large collection has been time-consuming. So, I’m grateful there’s finally a product that helps me handle them. One nice thing about BookFusion, it’s actively under development, and many more features are currently under development and will soon be released. Here are some I’m looking forward to, some of which I mentioned above:
Changing the font in the iOS and Android apps.Dictionary support in the web interface and Android app. The iOS app already supports this.Create custom categories.Change between a grid view and a list view on your bookshelf.Support for book series.View and edit additional metadata like series, series number, and description.Edit metadata in the BookFusion mobile apps.Add custom metadata.Edit and delete multiple eBooks at once.Create custom collections.Grouping and sorting eBooks by collections, authors, subjects and tags, series, and publishers.Create different custom bookshelves that display selected books or categories or tags.Share your bookshelf with family and friends and see books on their bookshelves.Loan and borrow books with family and friends.
BookFusion Pricing
The service has two account types. Free and Premium. If you’re just starting, I suggest you start with the Free account and upgrade to Premium later. Currently, BookFusion is running a promotional offer where you can lock in a lifetime discount of $39.99/year or $4.99/month. Go to the user menu in the upper-right corner and click Settings > Billing page for the details on the Premium account and discount. Comment Name * Email *
Δ Save my name and email and send me emails as new comments are made to this post.


![]()


![]()
