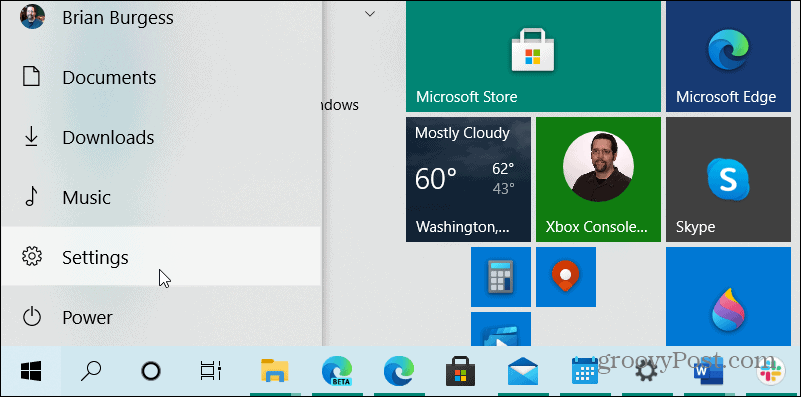
But starting with version 1511 (Microsoft’s first major update to Windows 10) adds the ability to add a fourth column of live tiles to the Start menu. Here’s how to enable it.
Windows 10 Tile Columns on the Start Menu
While you can resize app tiles, there are only three columns for tiles by default. The easiest way to show this is by creating a row of medium tiles as shown below.
Four Columns in Windows 10 Start menu
To enable the fourth column so you can add and organize more tiles easier click the Start button and click Settings. Alternately, you can use the keyboard shortcut Windows key + I to open Settings.
Then click Personalization from the menu.
Next, click Start from the left-hand column. Then in the right-hand column flip on the Show more tiles on Start switch.
That’s all there is to it. With this extra column and room on the Start menu, you will be able to display more tiles. You can resize your app tiles and create groups. With the extra space, you can create four rows of medium tiles, two wide or large tiles, or up to 16 small ones, for example.
More Windows 10 Start Menu Tips & Tricks
For more on customization of the Windows 10 Start menu, check out some of our other articles listed below.
Pin Playlists or Songs to Start menuPin Specific Settings to Start menuAdd Folder Locations to Start menuTurn Off Suggested Apps AdsMake the Start Menu More Space EfficientRemove Items from Most Used Apps ListFind Apps by First Letter the Easy Way
Let us know how you like to customize your Start menu on Windows 10. If you want to continue this or any other Windows 10 discussion, make sure to join our free Windows 10 Forums. Comment Name * Email *
Δ Save my name and email and send me emails as new comments are made to this post.
![]()


