While it’s a convenient feature that lets you “set and forget” during installation, you might not want your files stored in the cloud on Microsoft’s servers. Instead, you may prefer to keep them stored locally on a drive or a different third-party service. You may have no reason to sync files between PCs. Whatever the reason, you can disable OneDrive on Windows 11—here’s how to do it.
How to Disable OneDrive on Windows 11
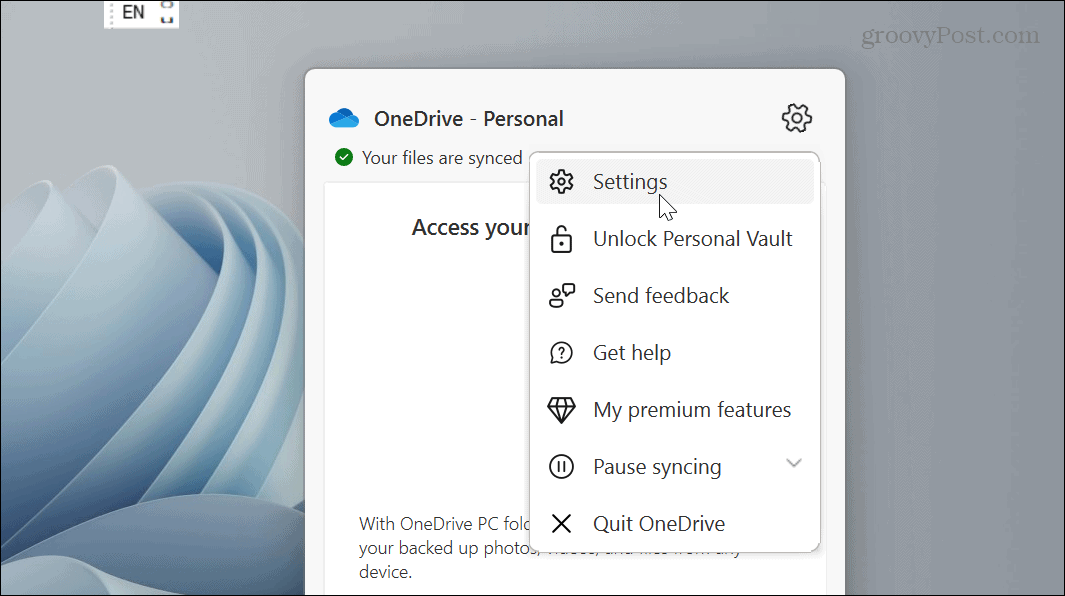
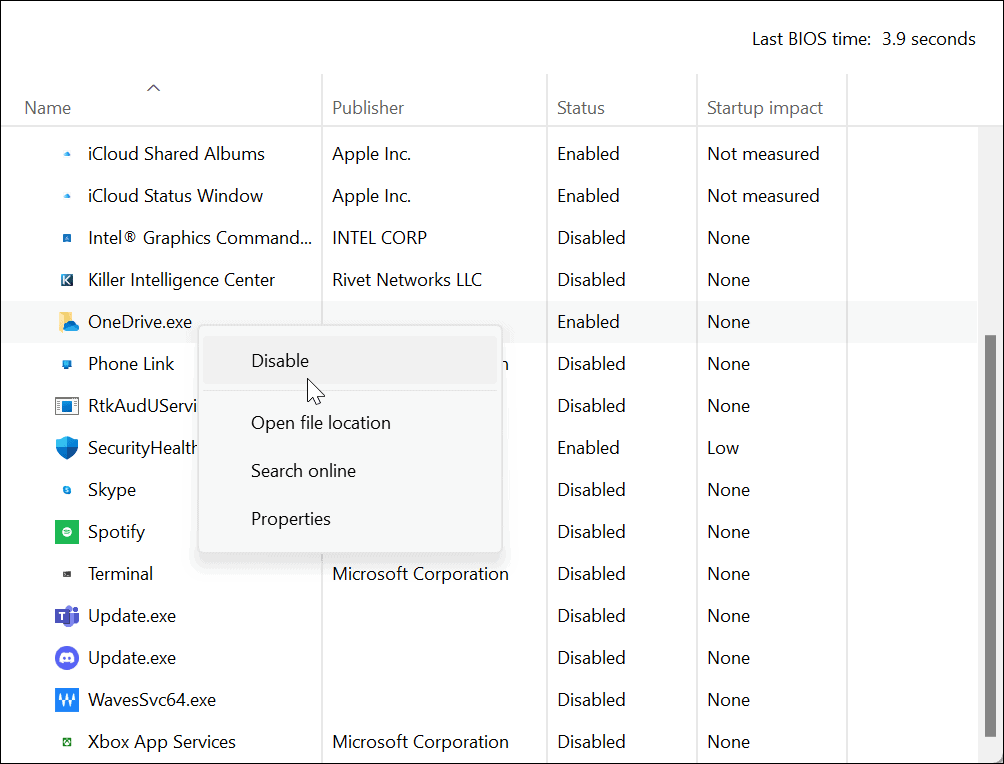
If you think OneDrive serves no purpose for your computing needs, you can disable it. For example, you might prefer a local account and keeping the file management on your own devices. Or, you might not have a limited or metered network connection. Luckily, with a few steps, you can disable OneDrive on Windows 11, preventing it from running or wasting network bandwidth. To prevent OneDrive from running during startup on Windows 11: After following the steps, OneDrive will no longer launch automatically when you start up your PC. However, if you don’t want to use the OneDrive menu system, you can follow our instructions on disabling startup apps on Windows 11. Just select the OneDrive.exe option.
How to Disable OneDrive with Group Policy Editor
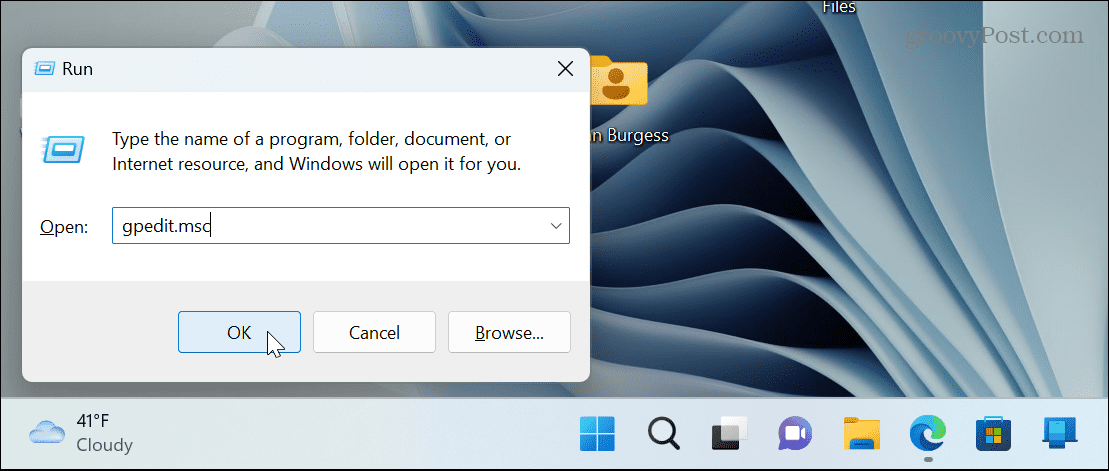
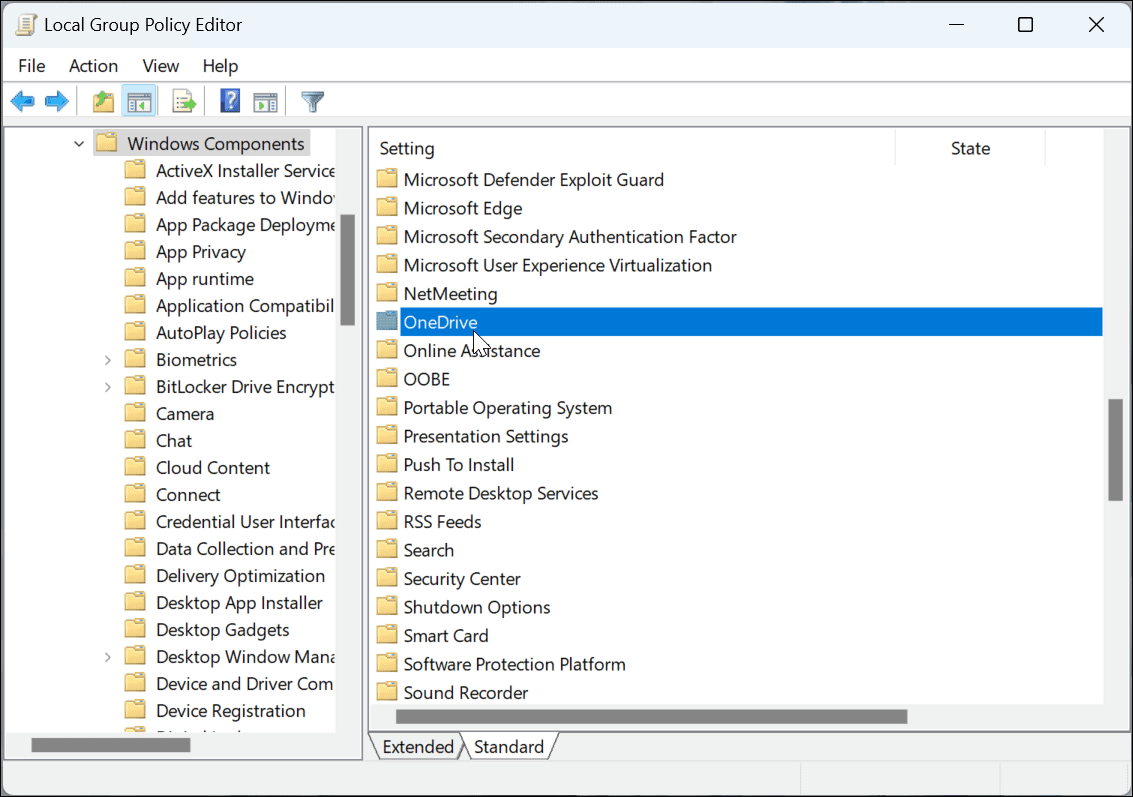
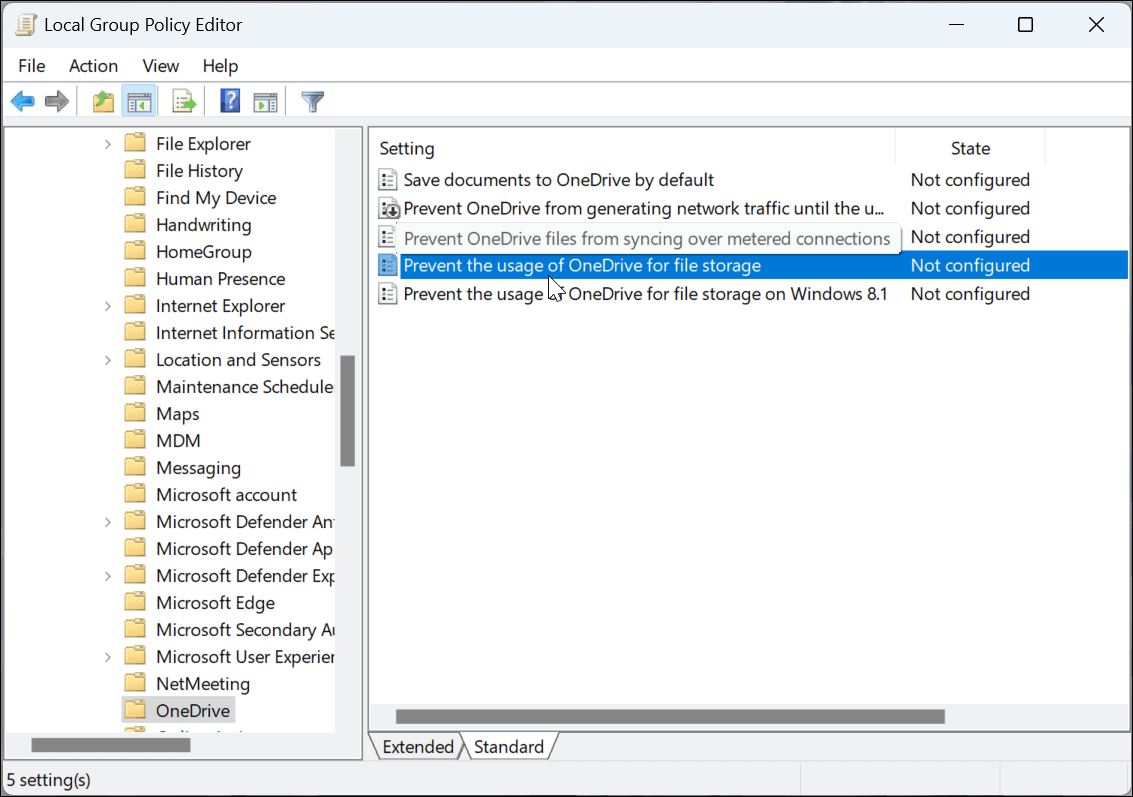
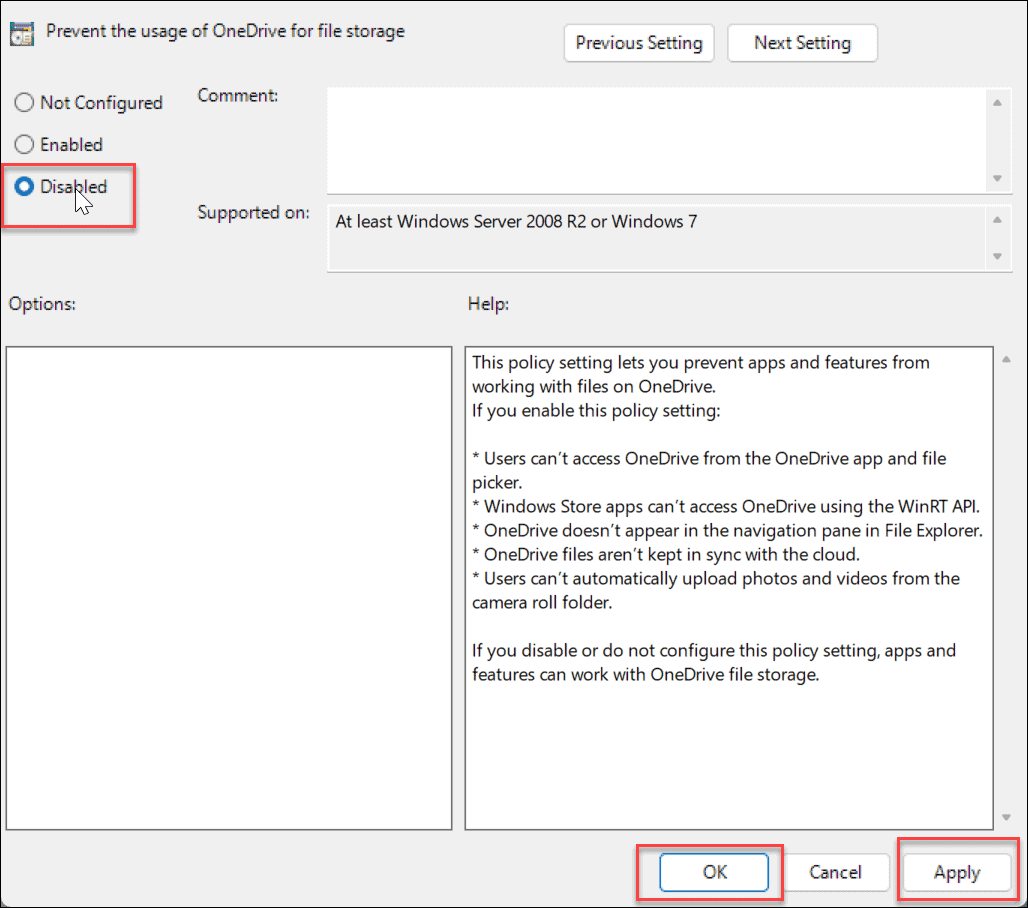
Another method you can use to disable OneDrive if you’re running Windows Pro, Enterprise, or Education editions is to use the Local Group Policy Editor. Note: This option doesn’t work on the Home editions of Windows 11. To use Group Policy on Windows 11 to disable OneDrive:
Unlink Your OneDrive Account
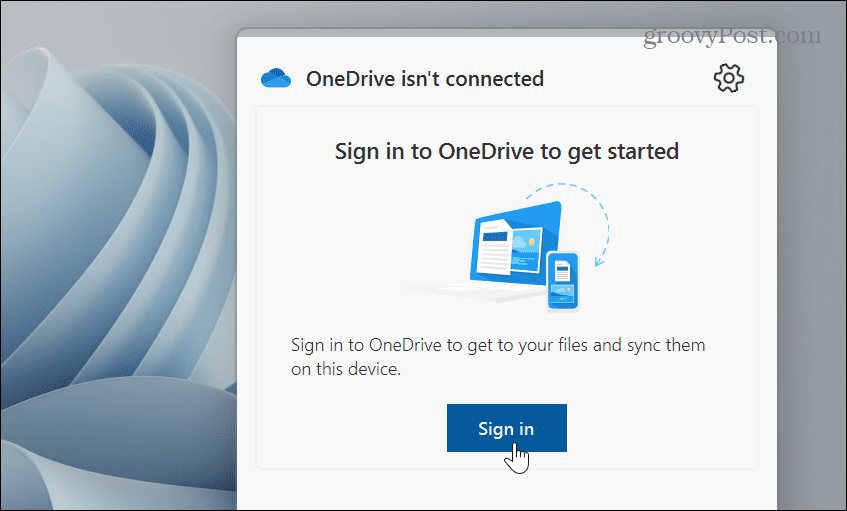
In addition to preventing OneDrive from startup, it’s a best practice to unlink your PC. After you unlink the computer, it will no longer sync files. To unlink your OneDrive account on Windows: Unlinking your account and disabling it from starting up keeps OneDrive out of your way and remains inactive. If you want to reaccess it, you’ll need to launch it manually and sign in again with your Microsoft account credentials.
Uninstall OneDrive on Windows 11
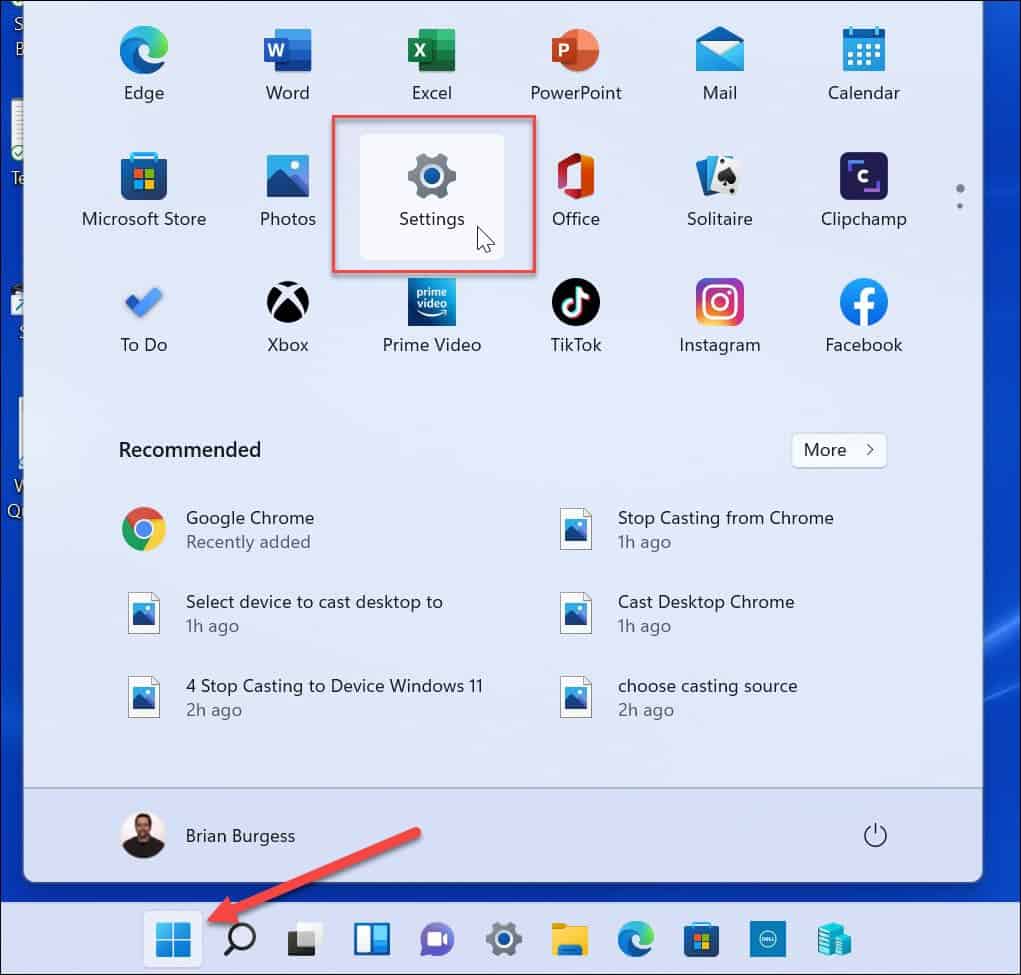
Another way to get OneDrive out of your way is by uninstalling the app. Uninstalling it is straightforward by using the Settings app. To uninstall the OneDrive app on Windows 11:
Use PowerShell or Windows Terminal to Uninstall OneDrive
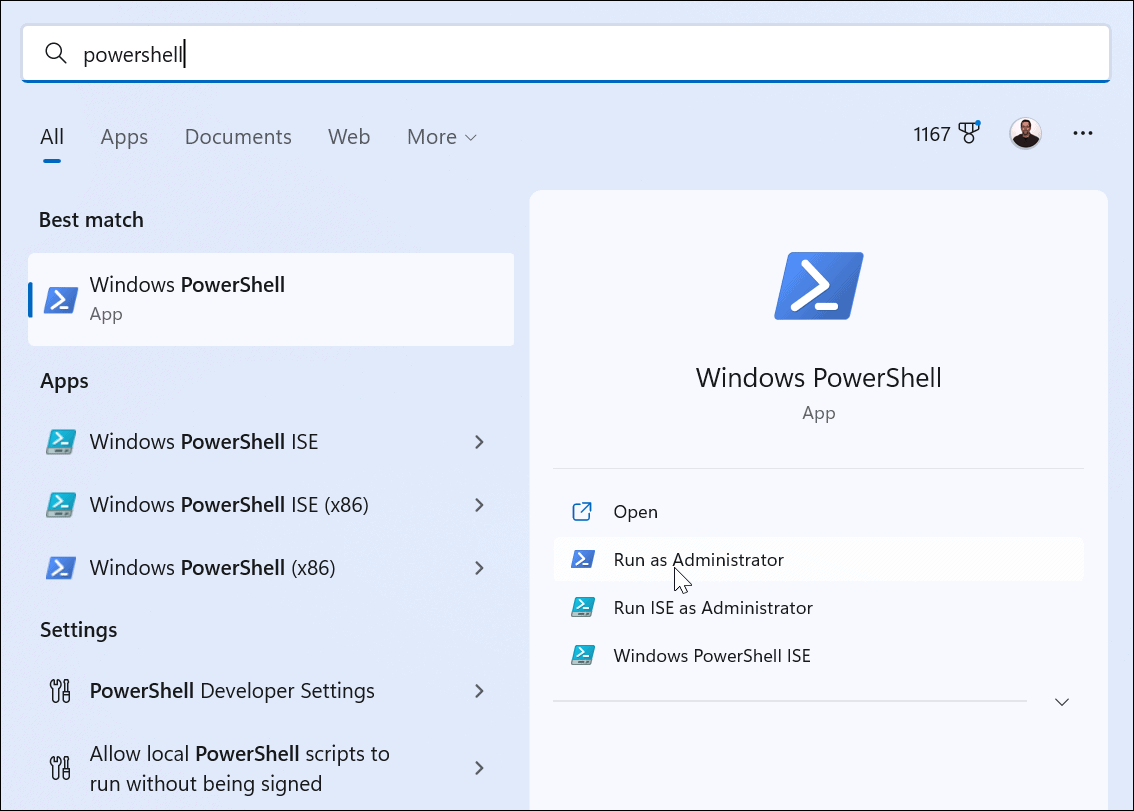
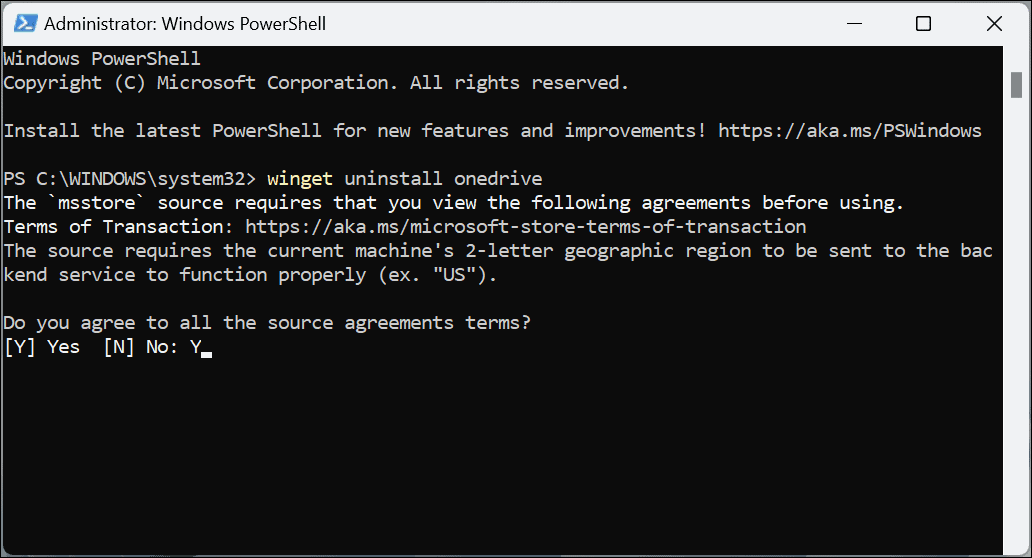
If you prefer to work from the command line, you can use the Windows Terminal or Windows PowerShell tools to uninstall OneDrive by running a single command. To uninstall OneDrive Using PowerShell or Windows Terminal:
OneDrive Out of Your Way
Whether you remove the app or simply unlink your PC from it, OneDrive will be less invasive using the steps above. However, if you want it back in the future, it might be best to unlink your account and sign into it later. If you want all signs of it gone, uninstall it or disable it via Group Policy. Another reason you might want to disable OneDrive on Windows 11 is because you prefer to use a third-party option like Apple iCloud, Dropbox, or Google Drive instead. Like OneDrive, those services allow you to store and share files. Remember that these services aren’t a complete backup solution. For that, you want to use a quality cloud-based service like Backblaze for $5 per month. Or, if you prefer to manage your data and backups locally, you can use the tools already built into Windows. For example, you can make a full system backup with the backup and restore utility. After creating your system backup, learn how to recover Windows 11 using a system image backup. Also, you’ll want to periodically create a new restore point when you need to get your PC up and running again. Comment Name * Email *
Δ Save my name and email and send me emails as new comments are made to this post.
![]()


